Cyber Monday: Up to 30% off! Code CM24 | SAVE NOW
Meta Quest VR headset with custom Zenni VR lens inserts againset a varied teal background.

VR Lenses for
Your Meta Quest

Watch every detail of your virtual world come to life without sacrificing comfort with custom mixed reality lenses for Meta Quest 3S and 3.
Product features

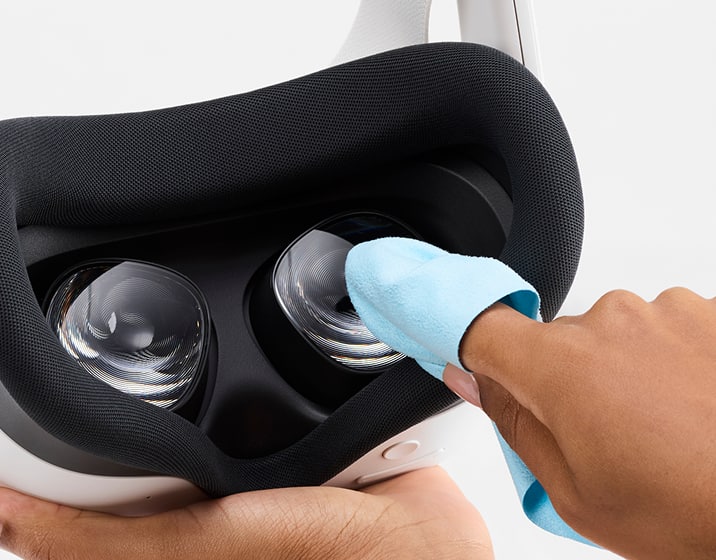
Close-up of hands with a blue lens cloth cleaning a Zenni VR lens insert.

Super thin

Comfortable, lightweight lenses

Two Zenni VR lens inserts with black frames, one showing a fingerprint to illustrate anti-fog and oil-resistant coatings.

Enhanced clarity boost

Choose anti-fog or oil-resistant coatings

Close-up of a Zenni VR lens insert with anti-reflective coating, emphasizing glare-free visual sharpness.

Anti-reflective coating

Glare-free visual sharpness

Zenni VR lens insert with scratch-resistant coating resting on a rock, highlighting durability against scratches and abrasions.

Scratch-resistant

Durable coating shields from scratches & abrasions

Text on varied teal background reading "Level up your VR experience."

Level up
your VR
experience.

Blue microfiber cleaning cloth with Zenni logo against a white background.

Added care

Protective case & microfiber cloth included

Choose a VR/MR lens insert

Installation in 3 easy steps

Close-up of a finger cleaning VR lenses inside a Meta Quest headset with a blue microfiber cloth.
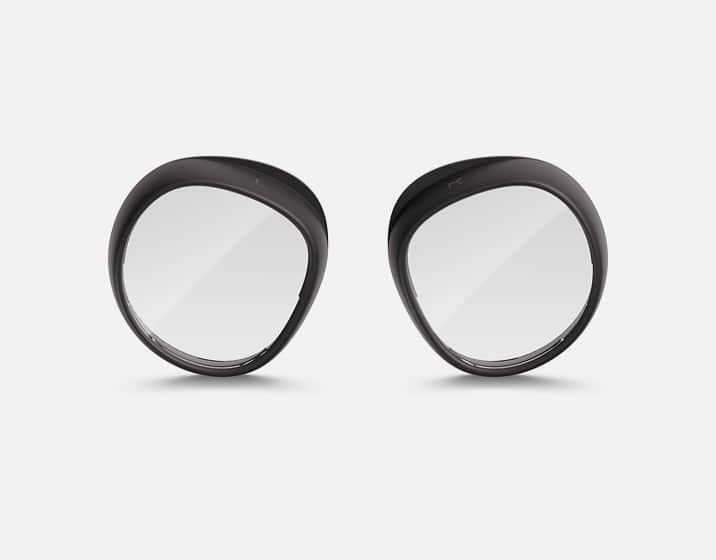
Two Zenni VR lens inserts are standing upright with a light gray background.
A hand inserting a Zenni VR lenst insert into a Meta Quest VR headset.
Step 1
Position the headset so its lenses are facing you.
Step 2
Align the L (left) and R (right) Zenni lens inserts with the headset lenses.
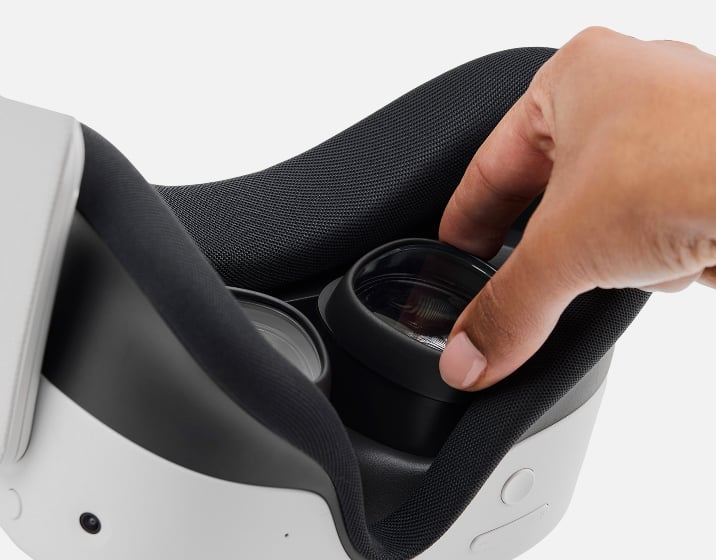
Step 3
Gently push the lens inserts onto the headset lenses until they are securely in place.

What’s included

Closeup of two Zenni Meta for Meta VR lens inserts with the “L” and “R” indications shown, on a white background.
Blue microfiber cleaning cloth with Zenni logo against a white background.
A teal-colored VR lens insert case with "ZENNI" logo and "Made for Meta" text on a white background.
Closeup of two Zenni Meta for Meta VR lens inserts with the “L” and “R” indications shown, on a white background.
Blue microfiber cleaning cloth with Zenni logo against a white background.
A teal-colored VR lens insert case with "ZENNI" logo and "Made for Meta" text on a white background.
Closeup of two Zenni Meta for Meta VR lens inserts with the “L” and “R” indications shown, on a white background.
Blue microfiber cleaning cloth with Zenni logo against a white background.
A teal-colored VR lens insert case with "ZENNI" logo and "Made for Meta" text on a white background.
Closeup of two Zenni Meta for Meta VR lens inserts with the “L” and “R” indications shown, on a white background.
Blue microfiber cleaning cloth with Zenni logo against a white background.
A teal-colored VR lens insert case with "ZENNI" logo and "Made for Meta" text on a white background.
Closeup of two Zenni Meta for Meta VR lens inserts with the “L” and “R” indications shown, on a white background.
Lenses with left and right marks
Person with black hair wearing a Meta Quest 3 VR headset over their face and holding a hand controller in their right hand.

“They stay in place and do not pop out once installed. When I removed them to let someone else try the headset, they came off quickly and went on as easily as the first time.”
- Meta Quest 3 User

“The view I get is better and more clear than using my normal glasses, and they’re very easy to install. The quality of the lenses is also very nice.”
- Meta Quest 3 User

“Just got my lens inserts and I love them. I clicked them into my Meta Quest 3, put it on, and bam, crystal-clear text. It’s fantastic being able to pop my Quest on with no glasses and have everything be clear.”
- Meta Quest 3 User

“I love my VR inserts — so easy to add and remove! The quality is nice and sturdy.”
- Meta Quest 3 User

“They stay in place and do not pop out once installed. When I removed them to let someone else try the headset, they came off quickly and went on as easily as the first time.”
- Meta Quest 3 User

“The view I get is better and more clear than using my normal glasses, and they’re very easy to install. The quality of the lenses is also very nice.”
- Meta Quest 3 User

VR Lenses FAQ

What is MR?

Mixed reality (MR) combines the real world with virtual elements to create an immersive experience where you can interact with both the physical environment and virtual objects overlaid on top of it. We offer lens inserts for a variety of Meta MR devices.

Which devices are the Meta Quest 3 and Meta Quest 3S lens inserts compatible with?

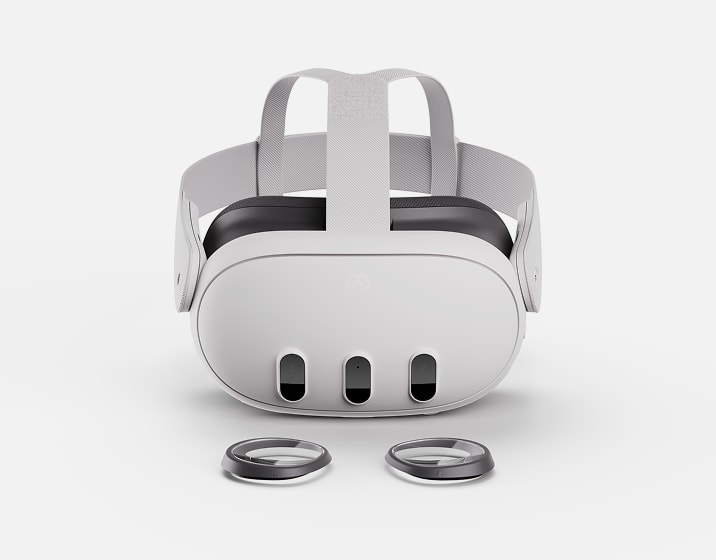
The Meta Quest 3S lens inserts fit both Meta Quest 3S and Meta Quest 2 headsets. Meta Quest 3 lens inserts are only compatible with the Meta Quest 3 headset. Please note that Meta Quest 3 and 3S lens inserts are not interchangeable.

Can I get prescription lens inserts for bifocals, progressives, or readers?

We currently offer single vision and non-prescription options for our lenses. We do not offer readers, bifocals, or progressive lenses.

Do you offer non-prescription anti-fog lenses for the Meta Quest 3 and Meta Quest 3S?

Yes, we offer non-prescription anti-fog lenses for both the Meta Quest 3 and Meta Quest 3S. These lenses are a great option for gamers who don’t require vision correction but want to enjoy optimal visual clarity during active or immersive gameplay. For more details, visit the Meta Quest 3 lens product page and the Meta Quest 3S lens product page.

How do anti-fog lenses work?

Our anti-fog lens inserts come with a fog-resistant coating that prevents condensation from forming on the VR/MR headset lenses for a clear and immersive experience. Wipe your anti-fog lens inserts evenly with our special Anti-Fog Activator lens cloth to activate the coating—the anti-fog effect lasts 3-6 months depending on use. To prolong lens lifespan and reinforce the anti-fog effect, regularly clean your lens inserts and use the activator cloth.

Note that the Anti-Fog Activator Lens Cloth will last 300 wipes before it needs replacement. This Anti-Fog cloth is only meant to be used on the Zenni lens inserts; do not use it directly on the Meta Quest headset’s lenses. Check out our Help Center article for more information on anti-fog lenses.

How to install Zenni Prescription Lens Inserts on Meta Quest headsets:

  1. Position your headset with the lenses facing you.
  2. Align the lens inserts for left (L) and right (R).

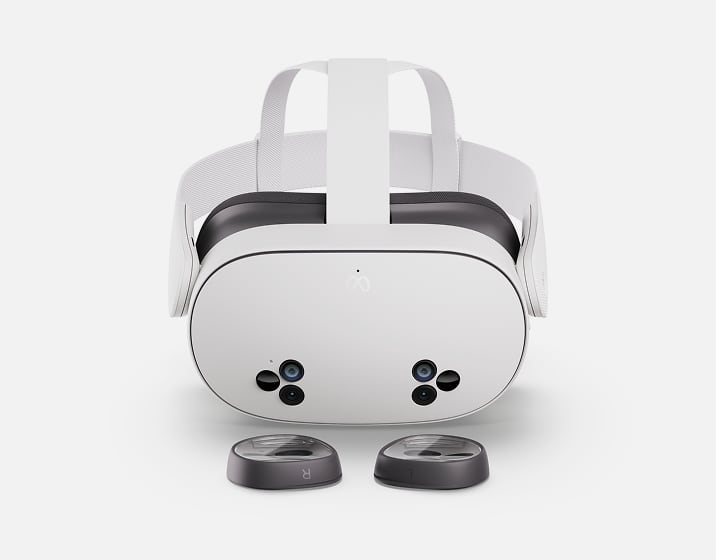
    1. The (L) and (R) markings on the Meta Quest 3 lens inserts should be at the bottom.
    2. The (L) and (R) markings on the Meta Quest 3S (also compatible with Quest 2) lens inserts should be at the top (1 o’clock for the Left lens, and 11 o’clock for the Right lens)
  3. Push the lens inserts onto the headset lenses until they snap into place.
  4. Change the lens spacing on your headset until the visuals are clear and comfortable to see.

    1. To change the lens spacing on your Meta Quest 3, use the lens adjustment wheel on the bottom left side of the headset.
    2. To change the lens spacing on Meta Quest 3S or Meta Quest 2, gently grab the outer part of one of the lenses and shift the lens left or right until the lenses click into the position that makes the picture clearest for you.
  5. If you need more room for the lens inserts, you can use the depth adjustment buttons on Meta Quest 3 or install the glasses spacer accessory on Meta Quest 2 or Meta Quest 3S.

How to create more room (if needed) for lens inserts:

Depth Adjustment for Quest 3

  1. With the headset off, you can use the depth adjustment buttons to adjust how far the lenses are from your face
  2. Gently tilt the headset arms upward.
  3. Locate the eye-relief buttons next to the lenses inside the facial interface.
  4. Hold down the button on one side while holding the edge of the interface and slide the interface forward or backward to adjust the distance.
  5. Repeat for the other side. Ensure the depth adjustment setting is the same on both sides.

How to insert the eyeglass spacer for Quest 3s and Quest 2:

  1. Gently remove the facial interface from your headset.
  2. Take the glasses spacer that came with your headset, and attach it to your headset by pressing it into place where your facial interface just was.
  3. Re-insert the facial interface back into place on top of the glasses spacer.

How to remove Zenni Prescription Lens inserts from Meta Quest headsets:

  1. Position your headset with the lens inserts facing you. Putting the headset on a surface or in your lap may help.
  2. Pull up and away on the lens inserts to remove.

    1. For the lens inserts for Quest 3, pull up and away from the headset. A fingernail underneath may help.
    2. For the lens inserts for Quest 3S, pull up and away on the tab of the lens frame. The easiest way may be to put your palm down, place a few fingers underneath the tab, and pull up.
  3. If needed, you can remove the headset's facial interface to give you more room or ease to remove the inserts.

How do I clean and care for the lenses?

For step-by-step instructions on cleaning and caring for your lens inserts, please refer to our clean and care guide.

Do lens inserts affect image quality?

The lens inserts are designed to provide clear vision with improved comfort.  Only with very high prescriptions is there a chance of minor distortions at the edges of the lenses, but this is extremely rare and our lenses minimize this occurrence.

Can I use HSA/FSA or vision insurance for the lens inserts?

For prescription lens inserts, you can download your HSA/FSA receipt from the order tracking page once your order ships. We also support HSA/FSA debit cards for payment. HSA/FSA cannot be used for our Non-prescription anti-fog lens inserts.

Vision insurance can also be used for prescription lens inserts only. Our VR/MR non-prescription lenses are not eligible for vision insurance.

Do you ship internationally? How long does it take to receive my order?

Yes, we can ship internationally to over 200 countries! Click here for a list of available countries. For estimated delivery times, please read our shipping policy for standard, expedited, and international shipping.